


For those operating Windows 10 based machines, the clock's running out. With Win...

-
23 min read
Jul 23, 2024 6:06:14 AM
Share On:
On July 19th 2024, CrowdStrike pushed an update to its Microsoft Windows agent. (Linux and macOS computers were not affected.) Considered something of an industry standard, the agent is widely distributed and can be found on millions of machines worldwide. A bug in the release caused those machines to crash upon receiving the update and left them unable to properly reboot. Each reboot attempt would fail within seconds, displaying the dreaded Blue Screen Of Death (BSOD).
A stunted solution
Shortly after, CrowdStrike and Microsoft both came out with manual remediation instructions. The proposed remediation asked users to put their machines into Safe Mode, navigate to the C:\Windows\System32\drivers\CrowdStrike directory, delete a file matching “C-00000291*.sys”, and restart.
The obvious drawback is that those steps cannot be remotely performed, which also means they can't be bulk committed. In other words, when you're dealing with any sort of scale, it becomes very labor-intensive and time-consuming. The slowness of the prescribed process isn't just a pain, it leaves the affected organization in a persistent state of risk for an extended period of time.
That's not good enough; not for GYTPOL's customers and not for our readers. Which is why we've devised an alternative solution that can be quickly applied at any scale in a virtual environment. Here's we'll present the solution for a VMware environment.
An automated alternative
The solution is a creative one, involving a sort of workaround. The core idea is to mount the disks of affected virtual machines to another healthy machine that can serve as an additional disk. Using that "clean" disk, we can then remove the required file and re-attach the disks to their original machines.
In our proposed approach we will use a Windows virtual machine (MyVM) together with the vCenter API to go over all Windows VMs, attach their disks to our machine (MyVM), identify affected machines, delete the required files, and then re-attach all disks to their original locations.
While this solution is capable of saving a lot of time and helping restore functionality, it's not perfect. One limitation is the fact that a .vmdk with snapshots cannot be detached from their original virtual machines.1
Attach .vmdk to MyVM
Please note that we are presenting our solution here in the form of code. This is meant to provide general guidance and serve as a proof of concept. It is not intended to provide bullet-proof code off-the-shelf. In most cases, depending on the environment and circumstances, some adjustments will be required.
All the below code runs in MyVM. For that purpose it should be able to run PowerShell and have the VMware.PowerCLI package installed.
We will use the VMware.PowerCLI (via PowerShell: version 5 and above, run as Administrator) to implement the automation even though the same approach can be implemented with the Python’s pyVmomi package (among others).
We first connect to vCenter, find our working computer, MyVM, and get the list of all the powered down Windows VMs that may have been affected by the crash.
Then we extract the .vmdk paths connected to these VMs and, one by one, detach from the original VM and attach to MyVM.
|
Import-Module VMware.PowerCLI # Connect to the vCenter # Get vm object to MyVM # Get the list of the Windows VMs # For each vm in windowsVMs get hard disks # Loop through each hard disk $disk in $hardDisks and do the following # Detach the disk from its current (failed) VM and attach to MyVM # Attach the .vmdk to MyVM |
Fix: Delete C-00000291*.sys
Once the .vmdk disk that requires fixing is attached to MyVM, the script will identify the newly attached disk by its serial number, bring it online, identify the new drive letters corresponding to this disk and then delete the target file from its designated location. Once the file is deleted, the disk will go back offline.
According to CrowdStrike, the files that must be deleted should match the following patterns:
- Channel file “C-00000291.sys” with timestamp of 2024-07-19 0527 UTC or later is the reverted (good) version.
- Channel file “C-00000291*.sys” with timestamp of 2024-07-19 0409 UTC is the problematic version.
- Note: It is normal for multiple “C-00000291*.sys files to be present in the CrowdStrike directory – as long as one of the files in the folder has a timestamp of 05:27 UTC or later, that will be the active content.
|
# Keep existing drive letters # Find newly attached disk # Bring attached disk online Set-Disk -Number $diskInVM.Number -IsReadOnly $false $drivesAfter = Get-Volume | Select-Object -ExpandProperty DriveLetter | Sort-Object -Unique $driveLetters = $drivesAfter | Where-Object { $_ -notin $drivesBefore } foreach ($driveLetter in $driveLetters) { $files = Get-ChildItem -Path $filePath $allFilesEarlier = $files | Where-Object { $_.CreationTimeUtc -lt $checkTimeEarlier } if ($files.Count -eq $allFilesEarlier.Count -or $anyFileLater.Count -gt 0) { if ($shouldDeleteFiles) { # Bring attached disk back offline |
Re-attach .vmdk To Original VM
After deleting the required file, the script detaches the disk from MyVM and attaches it back to its original location.
|
# Find attached disk # Disconnect it from MyVM # Attach back to its original VM # Disconnect from vCenter |
A push for perspective
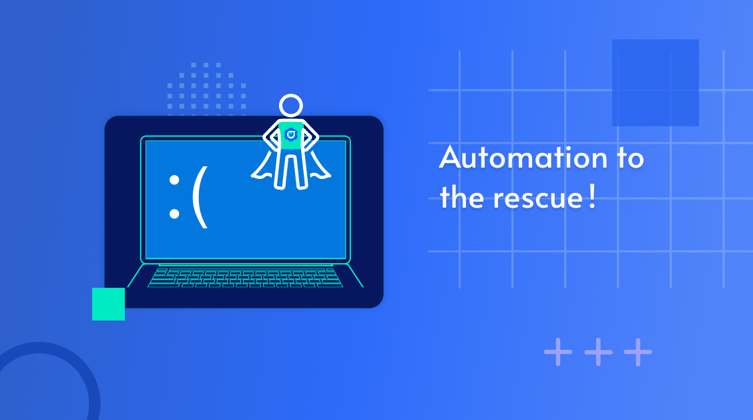
Here we've demonstrated how businesses can leverage automation to rapidly recover from an otherwise crippling (and protracted) digital event. The CrowdStrike update was the catalyst for this post, but the same principle holds true for cyber events. It highlights the need to sometimes think creatively and to always think comprehensively in pursuit of scalable solutions.
At the end of the day, automation is simply a must to keep pace with the speed of business today. Some may resist the shift fearing that automation brings with it a forfeiture of control. And it's true that that can sometimes be the case, but it never needs to be. The key is building strategic levers of control into the automation.
At GYTPOL, a dual commitment to pursuing automation and preserving control is part of our founding ethos. It's why, for example, GYTPOL doesn't directly implement remediations: we rely on our users to define the range and push the button. It's the same reason that we don't autonomously push updates to our clients. We deliver updates to be installed at the customer's discretion.
It's the removal of end-user controls that triggered the CrowdStrike BSOD issue to begin with. And it's something we have to be vigilant against. Hopefully this will serve as a wakeup call for the industry. At the end of the day, security should never come at the expense of business continuity. And that's the principle on top of which we've built our platform. It's why our tagline is "peace of mind at the push of a button".
_____
1.
Every problem has a solution and this limitation is no exception. It can be resolved either by manually attending to those cases or by automatically deleting snapshots before detaching.

An expert in IT systems & software architecture, GYTPOL is Yakov's second startup (after Digital Fuel).
Subscribe to
our Newsletter
We are ready to help you until and unless you find the right ladder to success.
From compromised endpoints to disrupted workflows, misconfigurations are one of ...
6 minute read

In today’s complex digital landscape, the importance of configuration security a...
7 minute read
Please join us as we take you on a journey through the looking glass and into th...
Comments